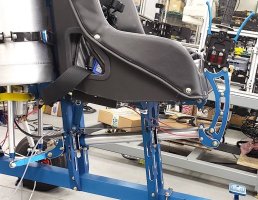
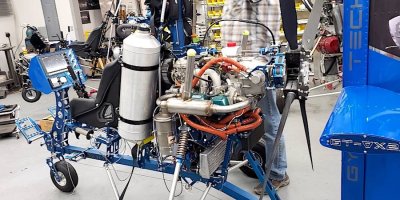
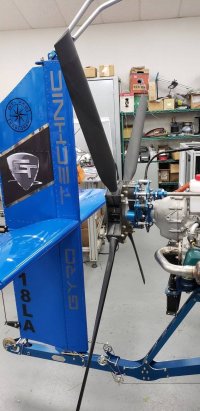
Build thread on the GT-VX2 Explorer.

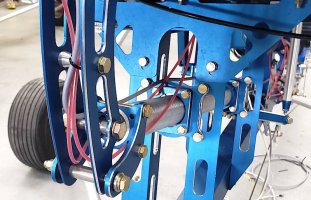
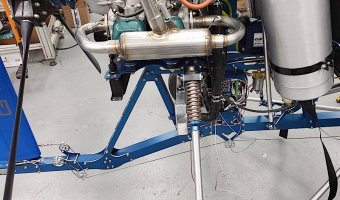
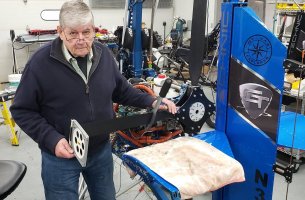
Denis's tube within a tube walking beam stick looks very neat and well designed !
Are you finally going to be reunited with the Blue Max at Bensen days this year? Will you be taking her home? Where is home Leigh?
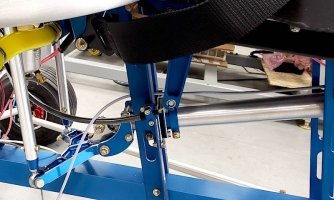
Denis's design skills are awesome.


Rear side.
Build thread on the GT-VX2 Explorer.


Front.
Build thread on the GT-VX2 Explorer.


Full side.
Build thread on the GT-VX2 Explorer.


Trying to arrange a return to Kasota to complete the build before Blue comes down to Wauchula and Bensen Days, and where it is hoped the phase one can be completed.

Home base is London with visits to family in US and Kenya.
 
Last edited:
Finally made it back over to Kasota to work on Blue and try to get her ready for Bensen Days, then Sun-n-Fun. It was great to be here again with Denis and his team, and to see Blue again.

A fair number of things still remain to be done. Work on the setting up of the EFIS, developing and getting checklists into the EFIS for this particular gyro, setting up the calibration of the engine instruments in the EFIS.

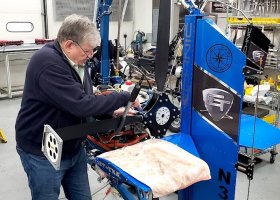
First hang test with me in the gyro proved that Denis's calculations on the set-up of the cheek plates had been pretty well spot on with a nose down keel angle of around 12 degrees. Happy smiles all round.

We will then be doing the double hang for CG measurements/calculations with max pilot weight with varying fuel loads full and empt, then with a min weight pilot and full and empty fuel.

Engine runs, carb synchronisation, thrust test, pitching the prop, setting up the variable incidence horizontal stabs for torque compensation. Radio checks.

Probably number of things that have slipped my mind but no doubt will surface and remain to be done.

Fear not people pictures will not be neglected and will be following. Know how you all like seeing what is happening.
 
Talking about carb sync Leigh, I can't remember seeing if you went to the trouble of installing EGT probes?
They are very handy for tuning/syncing.

wolfy
 
Leigh: This is great news, better than a well-liked televison series continuing after a spate of re-runs, instead of fresh content!
 
Are you going to do the Road Trip to Bensen Days with Denis or are you flying? Commercial, not Blue...

Bobby
 
Talking about carb sync Leigh, I can't remember seeing if you went to the trouble of installing EGT probes?
They are very handy for tuning/syncing.

wolfy
Yes Wolfy, we installed 4 probes, these are connected to the MGL EFIS, which is presently being connected and calibrating... and where I feel and act like a dog watching Mastermind on TV. An old pilot who pushed button on the EFIS without worrying about what went on behind the button when pressed, just looked for the pretty pictures that resulted. (Had one or two interesting times when a big red X showed up instead.)
This is great news, better than a well-liked televison series continuing after a spate of re-runs, instead of fresh content!
Kevin you are most kind, there may be a litany of new hurdles, but those don't need to be posted.

Been creating check lists for the Check list pages on the EFIS which can then be loaded into it via micro SD card.

Have ordered the Trig T22 X-ponder, and Trig/MGL interface connector as the Transponder will be operated through the EFIS instead of a dedicated head, as there is no space for on the Pod.

The MGL V16 transceiver does have a dedicated Razor Head on the Pod, but can also be operated through the touchscreen.

Are you going to do the Road Trip to Bensen Days with Denis or are you flying? Commercial, not Blue...

Bobby
Road Trip with Denis. Last Road trip I made was with Stuart my youngest when he relocated from Delta's LA hub to Detroit almost along Route 66 which was great, so looking forward to this one.

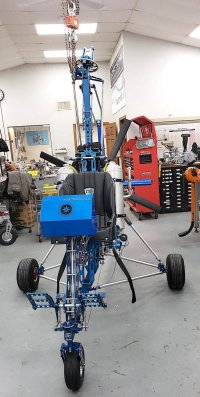
On the Forum a popular request is pics, so Blue as she is now for those who won't get a chance to see her at Bensen Days at Wauchula, and then Sun, n, Fun in Lakeland just after that.

From the front,
20220313_182038.jpg

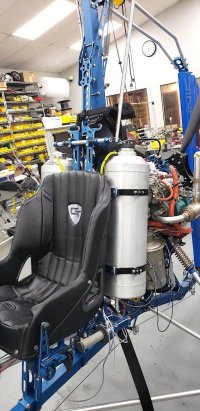
Quartering left front. The fuel sensing unit is on the left tank and filled from the right tank. Larger diameter connecting hose and the base to ensure even filling. The oil reservoir just behind. The pre-rotator lever...not a collective, is adjustable and will be closer to the throttle so as you raise to engage, you can ease the throttle forward, if you require more power for extra RRPM.
20220313_182045.jpg

View of the Pod, the lower coolant radiator/silver, and the smaller oil radiator behind and above. Coolant expansion bottle above the engine with the red top.
20220313_182101.jpg

View of the tail feathers, the pre-rotator pick up, tail wheel suspension, radio arial on the rudder, aircraft data plate, 4 blade Warp Drive prop
20220315_075506.jpg

The Earth X ETX680C Lithium Battery just ahead of the Exhaust, this is the lightest battery I have ever come across. Under that the MGL RDAC Engine monitor module that collects all the sensor information then communicates that to the EFIS
20220315_075445.jpg


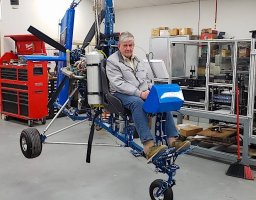
Last but not least we did a hang check, I am pretty excited about being airborne at this stage, but was feeling a bit haggard, jet lagged with a 5 hour tome zone change and over twelve hours of travel time, with a flight change in Atlanta, hence the rather dazed look.

I also was figuring that if I can't get Blue sorted, with a good spell there's always the broom just to my left.
20220313_180917.jpg

However with Denis no chance of that, so onward and at some stage...upward.
 
Last edited:
First job this morning, pitching the prop. The discussion with both Warp and Wolfy much earlier in the thread had come up with what sounded like a good pitch angle to start.

The sheer bliss of being here in Denis's work shop is that everything required is right here to hand.
20220317_095235.jpg


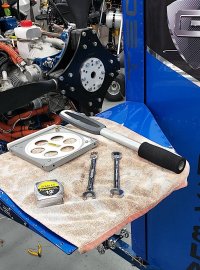
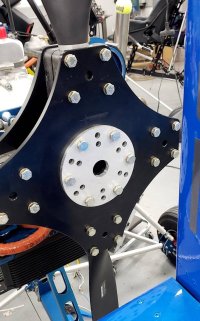
A quick refresh on the procedure quickly cleared up an initial misconception on using the keel as a zero ref....wrong, it is the hub of the prop when placed on and flat against the prop mount. Prop mounted and bolts barely tightened enough to hold it flat. This was measured with the Warp Drive protractor and turned out to be pretty well smack on vertical.
20220317_095252.jpg


Had decided to go with 12 degrees. Warp had indicated around 14, Wolfy had reckoned a couple less, so I decided to start there. Loosened all the bolts around the prop bases so the blade could be twisted to the chosen angle. Started with blade 1 and measured from the top of the tip to the ground when it was horizontal. This would ensure each successive blade would be pitched at a similar point in rotation.
20220317_091935.jpg


Protractor on the tip, with top of the the tip 45''above the floor and 12degrees pitch.
20220317_094928.jpg


Final blade almost done.
20220317_091944.jpg


First stage of tightening, first of the hub, then the blades. In the past have found blade pitch shift as I have tightened but these seemed to hold true. These were all torqued back down to Warp Drive's specs.

This procedure will inevitably be repeated, probably more than once, after we have had a chance to do the initial engine runs, carb synching, and throttle and choke cable tweaking, as she slowly settle in to getting ready for those first taxi runs, brake checks and myriad of other things that still remain.
 
Last edited:
Thank you.

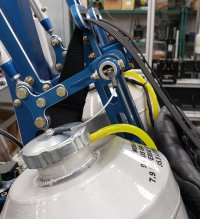
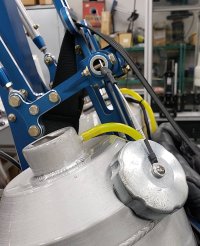
Checking over the smaller details decided the gas tank cap needed a tether, Denis within a short space of time, knocked up a collar that allowed the cable tether to rotate freely as the gas cap was screwed off.
20220317_180354.jpg


Its not going very far...and certainly not through the prop, if I hadn't fasten it properly.
20220317_180408.jpg
 
Last edited:
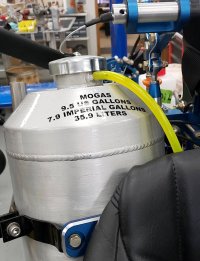
Leigh, what is your usable fuel volume and calculated average fuel consumption? The bird is beautiful!!!!
 
Leigh, what is your usable fuel volume and calculated average fuel consumption? The bird is beautiful!!!!
Thank you.

9.5US Gallons/ 35.9 Lts total capacity. The fuel is taken from pretty much the very lowest point of either tank and so we will be checking what is left/unusable after some engine runs but would be surprised at anything over a litre or two at most.

Fuel vent line runs out then down behind to a point below the seat.
Build thread on the GT-VX2 Explorer.


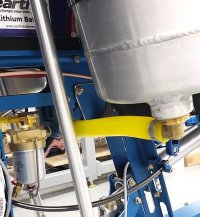
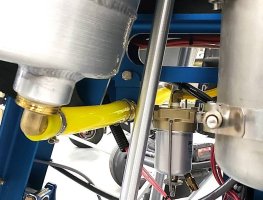
This below is the port tank. As one can see here the tank is drained from its very lowest point. Both tanks are joined by a big bore common line at the bottom which runs to the gascolator where it can be drained and checked for water, and yes, glass may have been nice. The large bore allows both tanks to equalise rapidly when filling as that can only be done from the starboard tank, the port tank top has the fuel capacitance sensor.
Build thread on the GT-VX2 Explorer.


View of the takeoff point on the starboard tank/
Build thread on the GT-VX2 Explorer.
 
Maybe I can't see them, but are there valves between the tanks and gascolator so that same can be isolated (remove the bowl)?
 
Maybe I can't see them, but are there valves between the tanks and gascolator so that same can be isolated (remove the bowl)?
Good point thanks for pointing that out.
 
Are their any cleaning agents like cleaning wax that will take off the blue finish? Make sure you don't use them... Looks great!
 
Thank you.

9.5US Gallons/ 35.9 Lts total capacity. The fuel is taken from pretty much the very lowest point of either tank and so we will be checking what is left/unusable after some engine runs but would be surprised at anything over a litre or two at most.

Fuel vent line runs out then down behind to a point below the seat.
View attachment 1154334


This below is the port tank. As one can see here the tank is drained from its very lowest point. Both tanks are joined by a big bore common line at the bottom which runs to the gascolator where it can be drained and checked for water, and yes, glass may have been nice. The large bore allows both tanks to equalise rapidly when filling as that can only be done from the starboard tank, the port tank top has the fuel capacitance sensor.
View attachment 1154335


View of the takeoff point on the starboard tank/
View attachment 1154337
So is that 9.5 gallons per tank?
 
Total capacity.
 
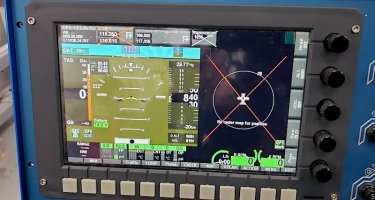
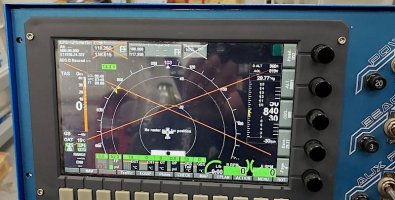
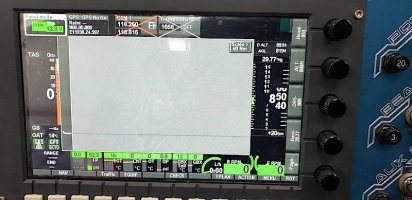
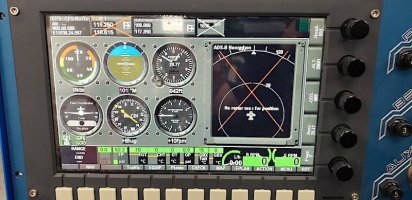
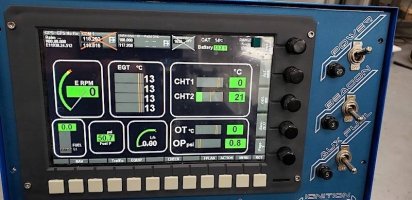
Been playing with screens and working with Big Mike whose grip on the design module has been amazing. There are 9 screens to work with and we have designed 6 basic screens that I feel appropriate for various stages in flight.

One can choose any screen at any time but I have them arranged in the sequence I think I will be needing and using them. They still have to be gone through as there are a number of details in them that still have to be tweaked, as no doubt sharp eyed individuals will note.

Feel free to offer comments as the screens can be altered and there will have been details that will need to be adjusted.

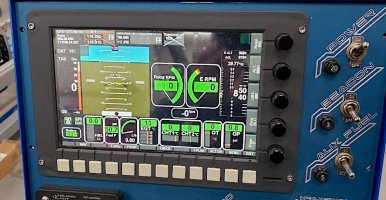
Page 1 is what I want for engine start. A good large display of engine instruments
Build thread on the GT-VX2 Explorer.

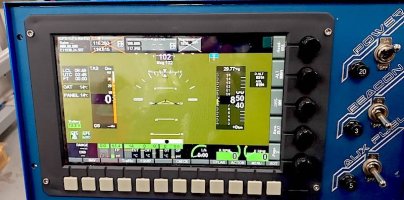
After start I will then go to page 2 which is my take off screen
Build thread on the GT-VX2 Explorer.


After TO and climbing out, local area and general flying.
Build thread on the GT-VX2 Explorer.


Cross country with moving map
Build thread on the GT-VX2 Explorer.


Moving map, cross country, approaching an airfield/avoiding airspace.
Build thread on the GT-VX2 Explorer.


Having a look ahead at terrain or vertical airspace along the route of flight ahead.
Build thread on the GT-VX2 Explorer.


A conventional 6 pack and moving map.
Build thread on the GT-VX2 Explorer.
 
Last edited:
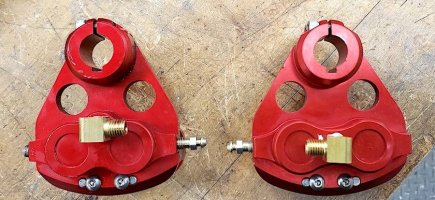
Denis was not happy with his disc brakes so decided to improve them. Apparently a little fiddly to bleed them completely and apparently a very slightly spongy feel had him take another look...and the new model brakes, which have now been fitted to Blue.

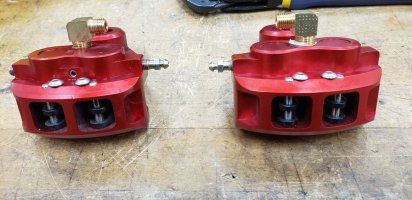
The old version is on the Left. The brass inlet port sits higher and they had an access behind and underneath. The new version on the right the brass inlet was moved down to where a bubble of air used to get trapped, and the access at the rear and underneath were done away with.
Build thread on the GT-VX2 Explorer.


In this shot on the left the brake unit the silver grub screw/plug at the bottom and one at the rear have been removed.
Build thread on the GT-VX2 Explorer.
The brakes are now easier to bleed two potential leak points have been removed and the slight sponginess has now gone.
 
Top